

Leather 101: How-To Apply and Finish Leather Paint
“Help...My paint won’t stay on my leather!”
We get this emailed to us often. Folks that want to customize and personalize their leather with a little splash of color, struggling to get their paint to set.
We’re here to help!
What causes leather acrylic paint to smear, crack, or otherwise not set correctly? More often than not, the issue comes from improper preparation.

Preparing your leather is an important step that frequently gets overlooked. So, what does leather prep look like?
Just like leather dye, you want to be sure that you are applying your paint to a clean and open surface. That means removing any finish, oils, or build up that may be on your leather.
Finishes and oils can keep the paint from bonding with the surface of the leather, and thus make the color streaky, runny, or tacky.
Creating a surface with a little bit of tooth gives the paint something to hold on to when being applied. You can do a few things to create this painting surface.

First, use a Leather Preparer or Deglazer. This is a product that is mostly acetone and alcohol. It removes oils as well as leather finishes applied by the tannery.
Oils and finishes are often applied to leathers to provide water resistance, softness, or just style. But just handling your leather with bare hands can deposit oil on the leather that you may not see until you try to put color over it. Especially if you put on a hand cream or just finished eating a greasy lunch!

However, be aware that Preparers and Deglazers can massively change the look of your leather. You won’t notice it on leather like a natural Vegetable Tanned, but you certainly will on a foil finished leather like our Vegas Collection or a patent leather.
In the photo above, you can see it has stripped away the Vegas metallic finish, caused some color change in the oil tanned, and made the patent foggy if not removed entirely.

Second, you could try a little bit more manual process and use sandpaper on your leather to rough up the finish.
If you’ve used cement or glue on leather, you are likely already familiar with the idea of roughing your leather. It is the same idea here, that a rougher surface will give the product something to cling to as opposed to glossing over a totally smooth surface.
This process won’t remove the finish completely, just add a texture to it. This may be the better way to go for your fashion leathers with decorative finishes and coatings.
A fine grit should be more than enough, with some gentle strokes. You want to rough the surface, but you don’t want to make it shaggy. That won’t help the look of your paint either.
Any other things to keep in mind when painting leather?
Be mindful about the types of leather you are buying if you want to paint.

As you can see in this photo, how the leather is finished makes a big difference to how the paint adheres and dries. The first block is a clean, prepped Veg Tan. The second block had an oil based conditioner applied. The third block has a standard sheen finish.
You can see the color in the first square dried evenly to a nice bold color, where the color on the other squares became streaky. They also took significantly longer to dry than the clean, unfinished piece which led to them getting smeared when moved.
So you may be wondering what leather you should use.
Vegetable Tanned leather is made for customizing. This leather will hold fast to your paints and dyes and is always a safe bet.
Bridle is also a safe bet for painting, with little more prep work than the Veg Tan would need.
Oil Tanned leather is going to have an oily, wax finish. You can do the prep work we previously covered (it will change the look and feel of the leather), but be forewarned that the paint may not last for the long haul.
Patent leather and other finished leathers are going to vary wildly in terms of prep and paint. Test scrap pieces ahead of time to see if the paint will adhere and determine which process will work best for you.

If you are applying paint on top of leather you have dyed yourself, be patient!
Allow the dye plenty of time to dry before applying paint on top of it. Be sure to buff any excess pigment before your paint application as well.
Dye that has not dried can cause a number of problems for paint being applied on top of it, including but not limited to tackiness.
Keep in mind, there are a lot of factors that impact dye drying time. It can dry as quickly as ten minutes, but if you applied a large amount, or live in a humid area, dry time can vary by quite a bit. This also goes for paint.
Give your dyed leather a large window of time to dry, and you should have no issues with the paint taking to the surface.
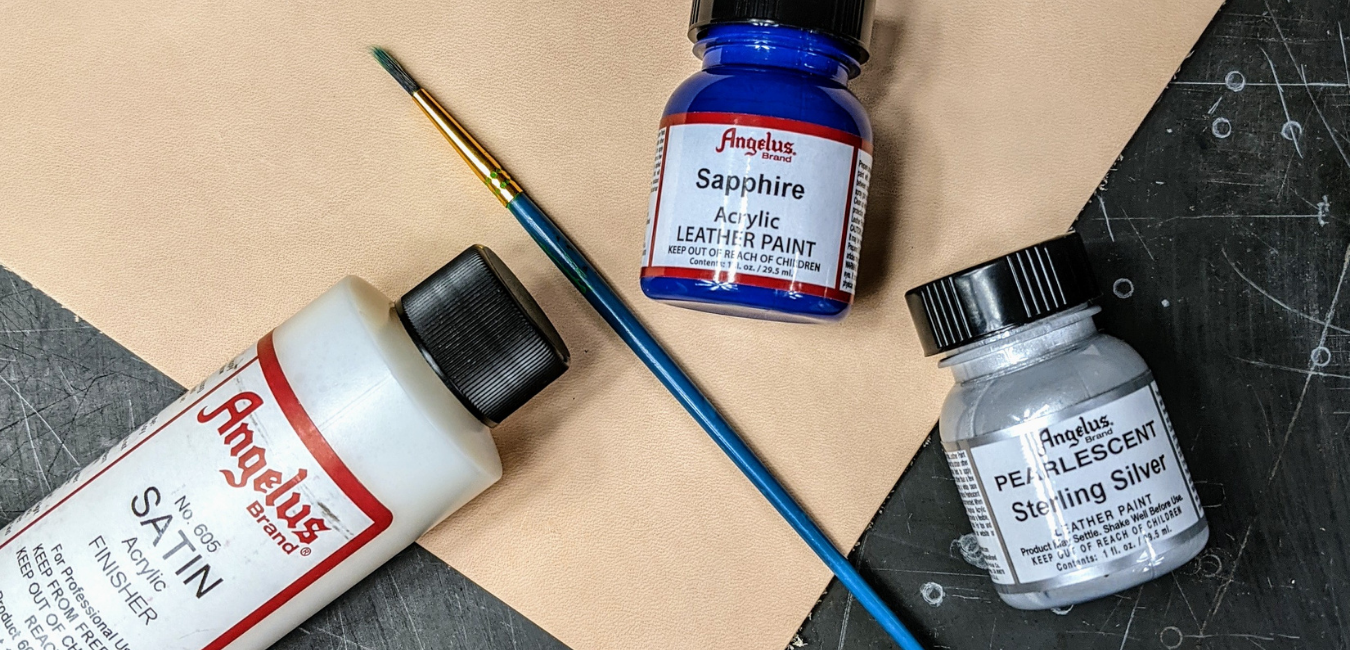
What paint should I use?

We highly recommend Angelus Acrylic Leather Paint.
Why? Well, see what Angelus has to say from their own website:
“Angelus Paints utilize a flexible, self leveling, non-cracking formula that adheres to multiple surfaces such as leather, vinyl, patent leather, canvas and more when prepared properly.”
This means whatever surface you apply it to the paint will bend and flex with it, whether shoes, bags, belts, and more.
That, and it comes in a lot of great, vibrant colors and finishes.
How do I apply my paint?
Once your leather is prepared properly, applying the paint is relatively simple.
Tape off areas or edges that you don’t want to get paint on. Even the steadiest hand can sometimes slip up! Or tape off designs for nice clean lines.

Shake your paint well to mix it. Paint settles as it sits, separating the binders and pigments. Not mixing or improperly mixing means the paint may not go on evenly and may even form a weak bond with the leather leading to scratches and chips.

Be sure to apply it with a clean paint brush in even, thin coats. Do not glob your paint on. It won’t dry evenly and will definitely chip down the road.
You don’t need to add thinner to your paint, but certainly can if you prefer (unless you are using an airbrush, then you must use thinner). Be aware that adding too much thinner can cause the paint to go on watery and streaky.

Allow for plenty of drying time between layers before applying additional coats of paint. Rushing can leave streaks or patches of uneven color. Even though it may feel dry, the paint under the top layer may still be setting up.
Once your paint is dry, you do not need to apply a finish. As long as you did your prep work and applied the paint properly, Angelus paint is meant to hold up to use and can be left unfinished.
But, if you want the piece of mind that comes with a finish, go for it! Angelus makes an acrylic top coating that works wonderfully with their paints. It comes in 4 finishes: Normal, Matte, Satin, and High Gloss.

You apply the finishes in the same way that you apply your paint. With a clean brush or cloth with thin, even strokes. It will dry completely clear.
You can also use Fiebing’s Acrylic Resolene, should you already have it in your tool box! Again, apply it in thin even coats. Be cautious if thinning the resolene down with water as this mixture can cause the paint to lighten.

Whichever finish you choose, be sure to apply it gently. Do not rub the paint for a long time or apply excessively. Or, apply it with an airbrush to avoid any chance of rubbing paint off.
As you can see above, applying too much of the finish causes the paint to run. You can see where it has rubbed away. You can also see that the color has deposited in the leather around the paint because I rubbed the paint too harshly.
So there you have it, how to prep, apply, and finish your paint. Do your prep work, be patient, and bring your customization to life!
And just in case you don’t have time to read all that info above, here’s a little troubleshooting list that may help you zoom in on your paint struggle!
Leather Paint Troubleshooting List
Paint wipes off:
You didn’t prep the leather beforehand. Spot check your leather to determine which preparation process would work best for your leather.
Check your leather. If it’s oily, patent, etc, it won’t hold the paint without some prep work.
Didn’t allow for enough dry time between applications and finisher. Double your dry time the next time around.
Applied finish too aggressively. Be sure to use a gentle hand or even an airbrush when applying finish over paint.
Paint cracking/chipping:
Too much thinner can make the paint fragile and prone to cracks when dry. Try again with a thicker paint.
Leather was not prepared properly before application. Spot check your leather to determine which preparation process would work best for your leather.
Paint applied too heavily. Next time, apply in thin even coats.