How To Make A Leather Journal
A DIY leather journal is incredibly simple to make and is a great gift, either for yourself or someone else!
Like most leather projects, you can customize your journal in any way you see fit. Today, I am going to show you the easiest way to make a leather journal cover.
This serves as a great introduction to some basic hand tools and leather craft skills. Those that have a bit more knowledge of leather working will see a ton of ways to add to this project.
So let’s get started!
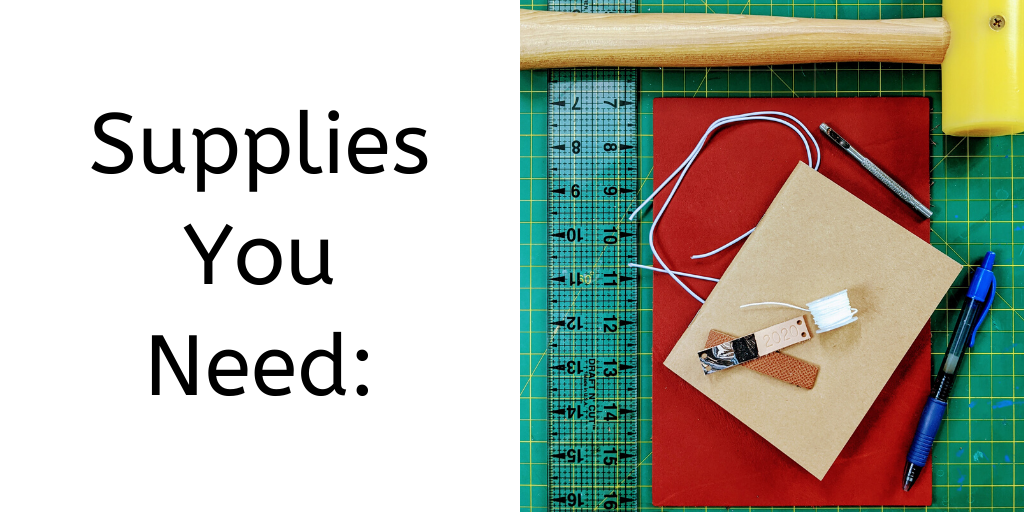
3-5 oz Scrap Leather (I used oil-tanned scrap. If working w/ veg tan, use veg tan scrap)
Waxed Thread (I used sewing awl thread)
Elastic Cord (jewelry section of your local craft store)
Self Healing Mat
Ruler
Pen
Journal Insert (I found mine on Amazon)
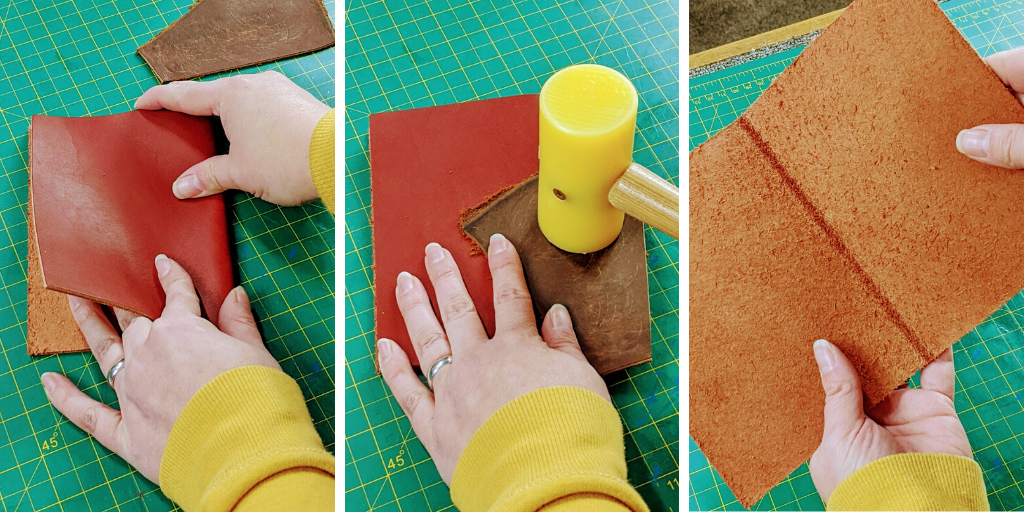
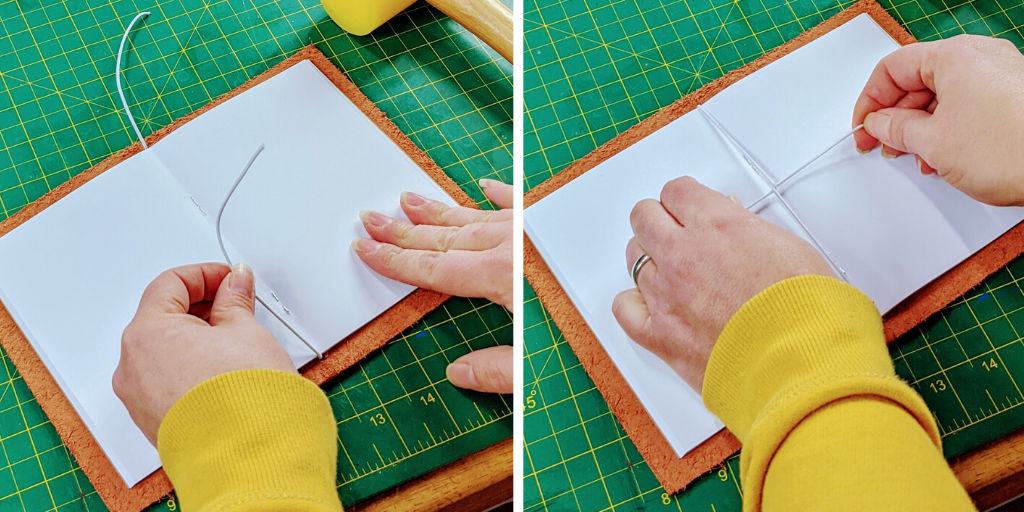
To begin, you are going to take your leather cover and fold it evenly in half. Once each corner meets up perfectly, you are going to use a mallet to help the leather sit flat at the fold.
Place your scrap leather over the spine of your journal cover. Make sure to keep the scrap over your cover because the mallet will damage your finished project if you apply it directly to the cover. Be sure to keep your corners lined up during this process.
Once you have finished, you will see that you have a nice clean line on the inside of your journal to work off of.
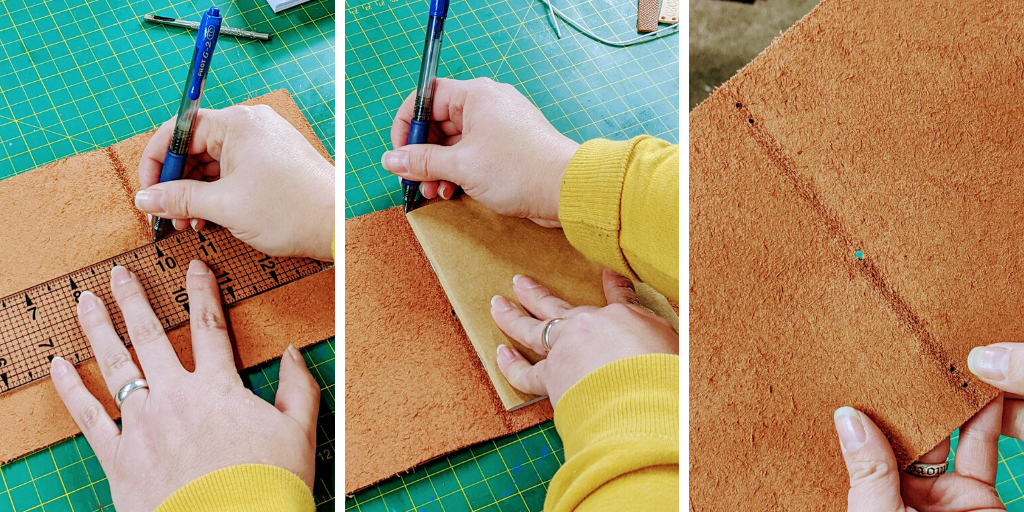
Find the center of your journal cover, along the spine fold. Mark it with a pen.
Place your paper journal insert along the spine, and use it to mark your top hole and bottom hole placement for your binding. These marks will need to be close to the insert to ensure it doesn’t move around once bound.
When you are happy with that placement, you’ll need to add two more marks about ½” from the top and bottom marks of your journal insert, going towards the center mark. These marks will be under the journal insert (see the third picture above). In total, you will have 5 marks to be punched.
Now it is time to make the holes in the leather.
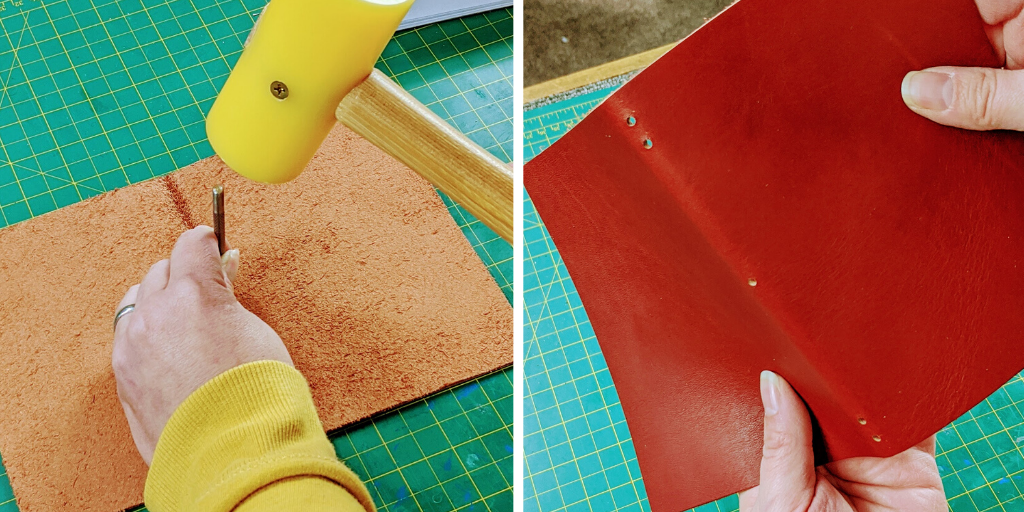
First, make sure you are working on a steady surface. Many leather workers like to have marble or a similar hard surface to use as a pounding board. If you don’t have one available, a self healing mat on a sturdy table will work just fine for this.
Take your hollow punch (I used the ⅛” size punch), and center it on each of your marks. Using your mallet, hammer it clean through the leather. I cut from the suede side, just in case I have a slip up with the tool, so it doesn’t scratch or damage the leather finish.
Now that you have the holes punched, you can start in on the binding!
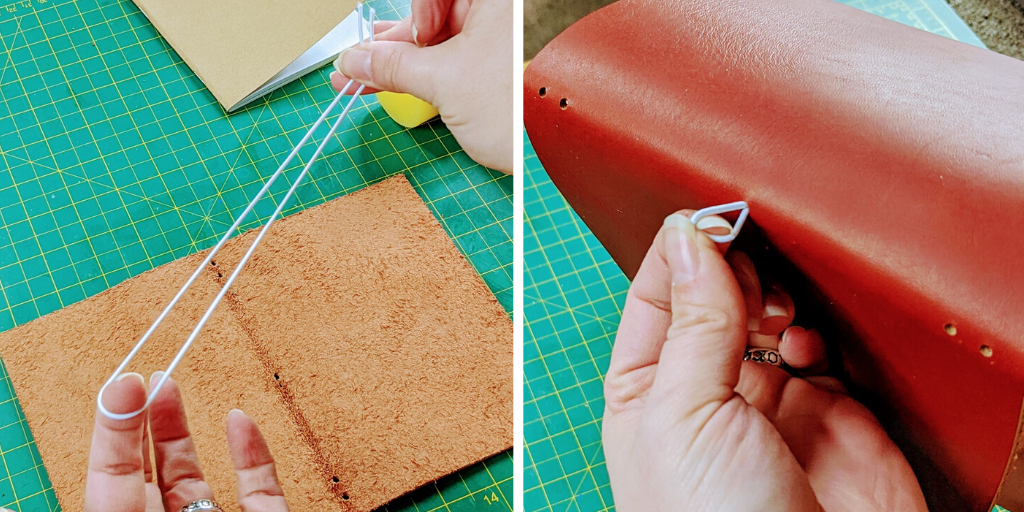
For this project, using an A5 journal cover pre-cut, I cut an elastic cord to about 14”. This was more than enough to give me my loop to close the journal and tie off the binding inside the journal insert. Depending on the size journal you are binding and how loose or tight you want your cord, this length can vary!
Fold your cord in half, and create a little loop to push through the center hole on your cover. If you need to widen this hole a bit to fit the cord, the next size up punch will work just fine. You could also use a needle threader to help pull the cord through.
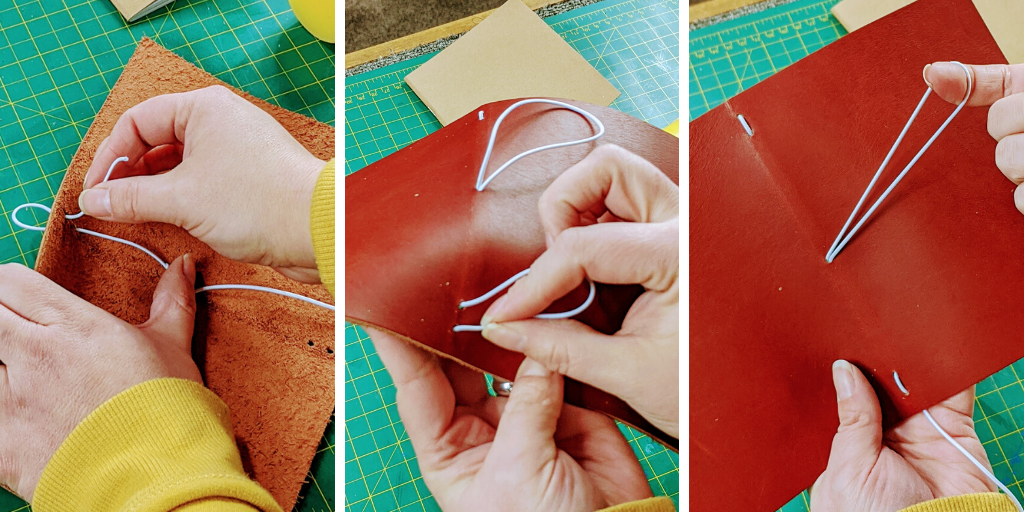
When you feel comfortable with the length of the loop, go ahead and start stringing the cord through the top and bottom holes. Slip the cord through the holes closest to the center first, then come back to the inside of the journal through the furthest holes from the center.
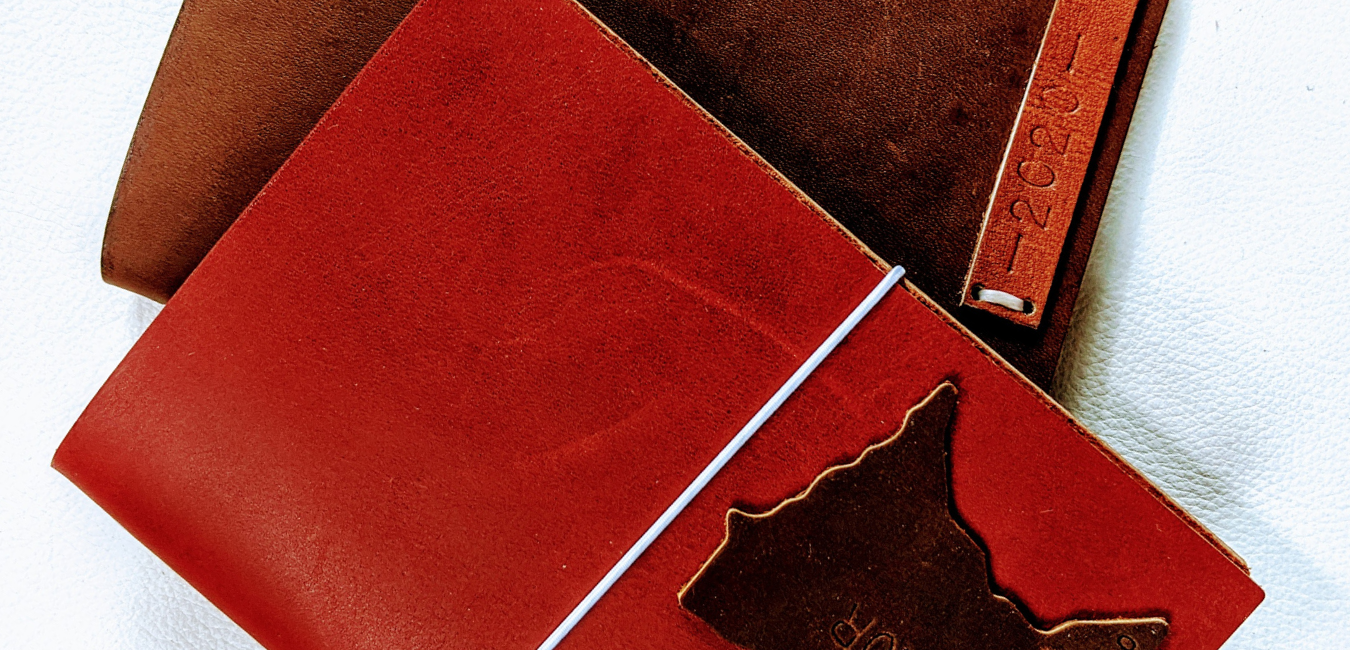
You will see a small detail now on the spine and have all the excess cord back on the inside of the cover.
Place your journal insert, open to its center, down in the leather cover, and tie your cord ends into a knot. Trim off any excess that hangs outside of the insert.
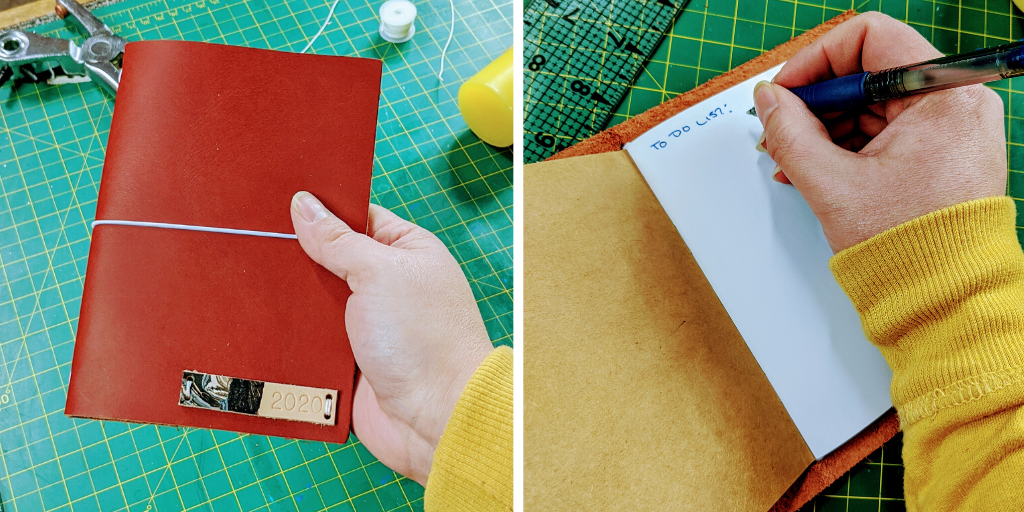
Close up your journal and check that the loop is as tight or loose as you want. And that there is a finished leather journal. The next steps are totally optional!
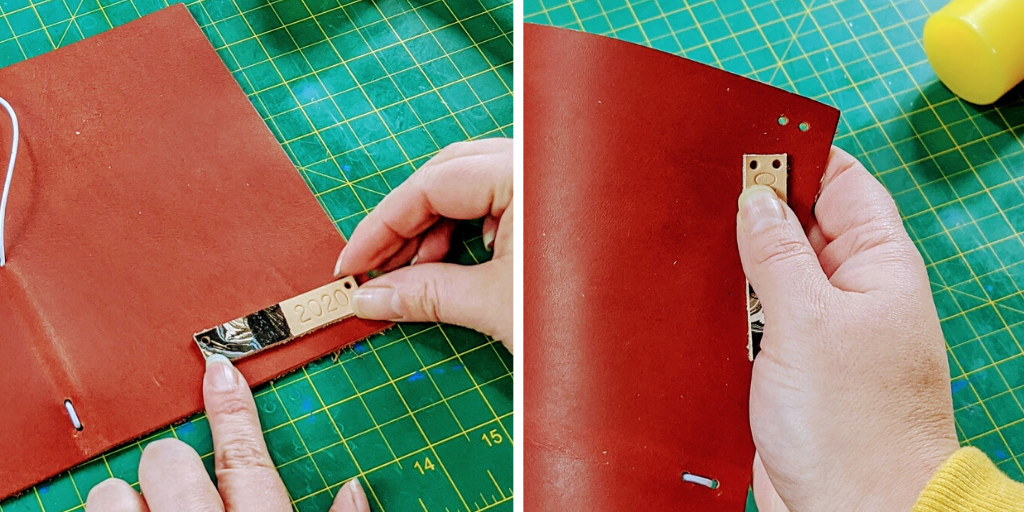
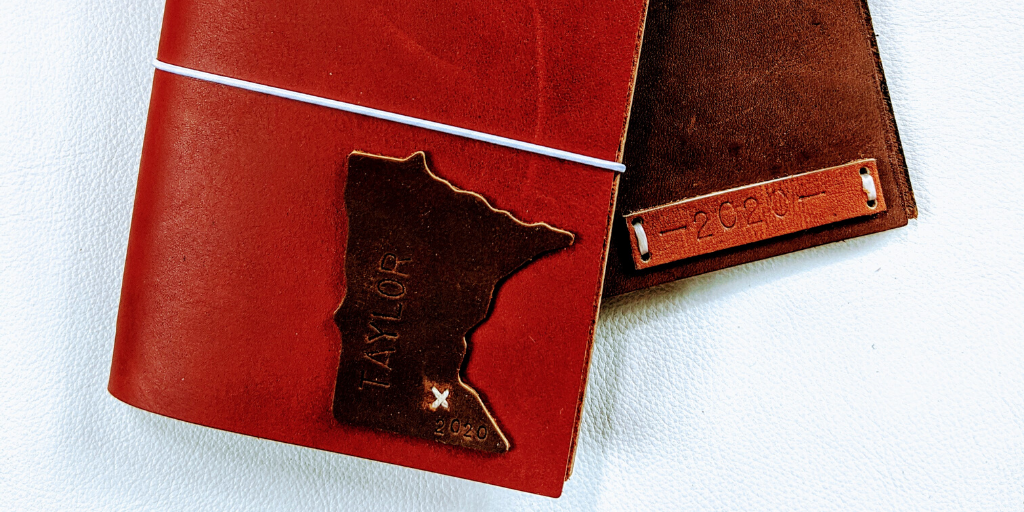
I did want to add a small detail to the cover. In this case, I added the year.
I took a Veg Tan rectangle earring blank, dipped it in paint to marble it, then added the numbers using leather stamps (only Veg Tan or Oil Tan can be stamped). I punched out holes in each corner so I could attach it to cover with a bit of thread.
You could use any shape earring blank, or cut your own from scrap and add whatever details suit your project. If you would prefer to use a sewing machine, or hand stitch detail all the way around, do not worry about punching holes in the corners.
Line up your detail piece up exactly where you would like it on the cover and mark your holes. Go ahead and punch those holes in the same way you did for the spine.
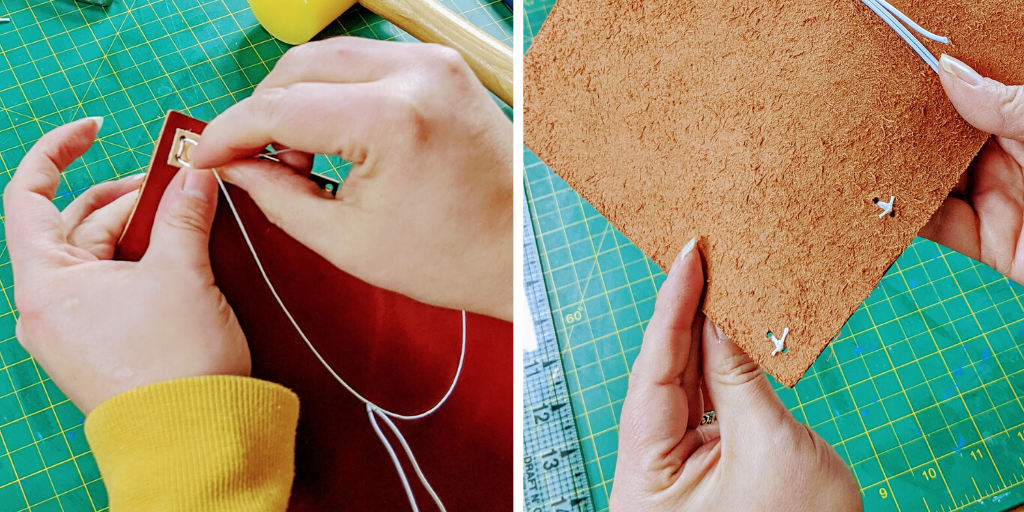
Line up your holes, and start threading the wax thread through. I did two loops before knotting off the thread and cutting the excess. Since this is waxed thread, you can press it down with your finger to bond it, or melt it off with a lighter.
There you have it, a leather journal, nice and easy!
Like I mentioned before, you can customize this in any number of ways.
Add fabric lining. Double or triple up on the binding to add more inserts.
Use Veg Tan for your cover and you can paint, dye, or tool it. Trim the corners and burnish the edges. It is up to you!